How Do You Test Silver With an Eraser?
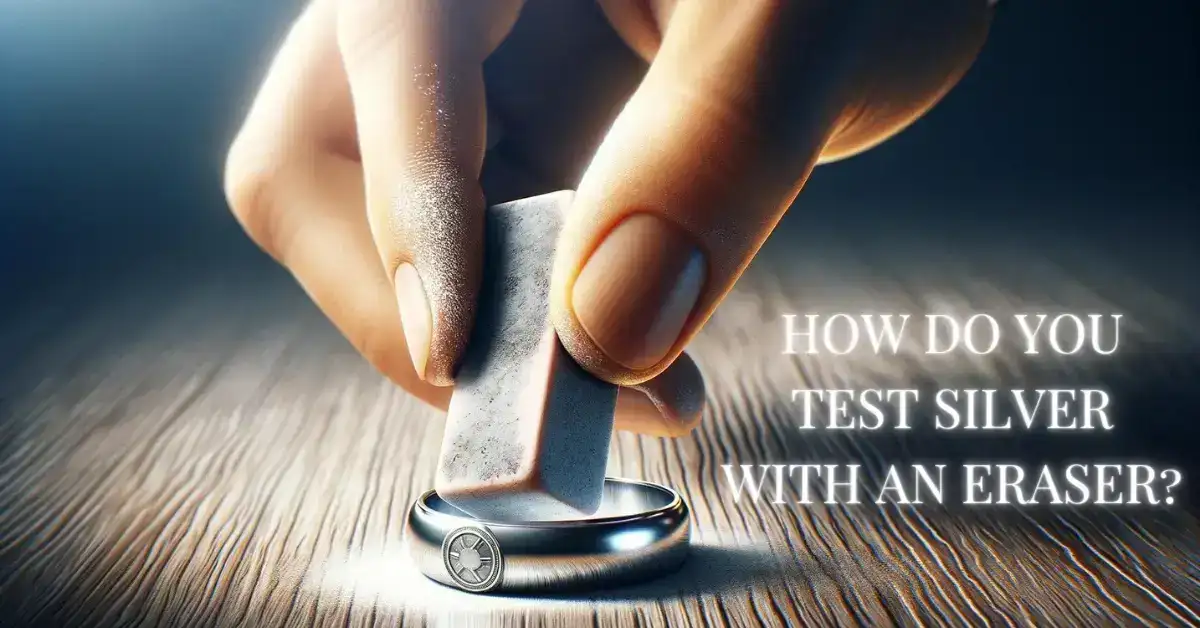
How Do You Test Silver With an Eraser?
Have you ever wished you could test whether or not your silver ornament is original at home? Well, now, you can do it with an eraser!
Yes, you heard that right. You can test purity of silver with an eraser and in this blog, we shall be teaching you all about it. Therefore, with this being said, let’s get right into it, starting with:
Can You Really Test Silver With An Eraser?
Yes, you heard it right—using just a common eraser! But can you really test silver with an eraser? Yes, and it's a method embraced by both amateur and seasoned collectors.This low-tech solution doesn't require any fancy equipment or chemicals.
Instead, it leverages the mild abrasive quality of an eraser to help determine the purity of silver items.This test is popular due to its simplicity and the minimal risk it poses to your precious items.
What’s The Eraser Test?
The eraser test is a straightforward technique where you use a regular pencil eraser to rub against the surface of a silver item. The basic idea is to observe the mark it leaves behind. Genuine silver, when rubbed with an eraser, typically shows a black mark.
This occurs because real silver tarnishes when exposed to sulfur-containing substances, and the friction of the eraser accelerates this reaction, leaving a noticeable black streak.
This silver eraser test is part of a broader set of home-based tests often used in India to verify the authenticity of silver.
Therefore, it’s quite useful for people who prefer a non-invasive and non-destructive method to check their silver items. It's a perfect example of traditional wisdom blending with practical solutions to create a reliable result.
VISIT FOR :: wholesale gold jewelry suppliers usa
Accuracy of Testing Silver With Eraser
So, how accurate is the eraser test? Here’s the answer, while the test is quite quick and also easily done, it isn’t always too accurate.
Thing is, the test doesn’t guarantee silver’s purity or quality. While there are limitations as one might expect, it isn’t that bad either, rather it is proven to be quite reliable at many times.
Despite these limitations, the eraser test remains a popular choice among silver enthusiasts in India for initial screenings.
At the end of the day, if you are looking for a solid proof, we highly advise you to also use other methods. For instance, the acid test or X-ray fluorescence (XRF) analysis, for a more comprehensive assessment.
Why Use an Eraser Test?
Have you ever wondered, "Is the silver real or fake?" There's a simple way to check, and it's probably hiding right on your desk – a trusty eraser. That's right, this everyday tool can help you.
Why an eraser, you ask? Because it's readily available, easy to use, and completely harmless to your silver treasures. This method is perfect for those quick on-the-spot checks, especially if you're dealing with sentimental pieces or heirlooms. You can avoid any potential scratches or damage that might come with more intense testing methods.
How To Perform Eraser Tests?

It’s time to perform the silver purity eraser test. But how do you do it? Well, the answer is simple, follow the steps mentioned below and you are done with it. Let’s start with the first step that is:

Step 1: Clean Your Silver Item
First, ensure that the silver piece you're testing is clean. Any dirt or oxidation can affect the outcome of the test. And with that done, you can simply wipe the item with a soft cloth to remove any surface dirt or debris.
Step 2: Get a Standard Eraser
Use a standard pencil eraser; avoid colored or abrasive erasers as they might leave marks that are misleading. A plain white or pink eraser is ideal.
Step 3: Rub the Eraser on the Silver
Gently rub the eraser over a small area of your silver item. Apply steady pressure and make several passes over the same spot. It’s important to be gentle to avoid scratching the item unnecessarily.
Step 4: Observe the Markings
After rubbing, look at both the eraser and the silver. On genuine silver, the eraser might show a slight black mark, which is a sign of real silver reacting with friction. On the silver, you should see only minimal markings from the eraser, if any.
Step 5: Evaluate the Results
If you see a distinct black residue on the eraser, it’s likely that your item is made of genuine silver. This is due to the silver oxidizing slightly when rubbed. Fake or lower-quality metals will not produce the same mark and may even show more noticeable damage from the eraser.
This test is a quick way to assess silver but remember, it's not definitive. For a more accurate result, consider professional testing, especially for valuable items.
VISIT FOR :: bangles wholesale india
Why Does This Method Work?
Yes, the Silver purity rests with eraser works, but how and why? While it seems like magic, there’s subtle science behind it and here’ we shall be telling you all about that.
Let’s get going:
Yes, the Silver purity rests with eraser works, but how and why? While it seems like magic, there’s subtle science behind it and here’ we shall be telling you all about that.
Let’s get going:
Silver's Unique Properties
Silver is a highly conductive and soft metal, which means it reacts differently than other metals when subjected to friction. The softness of silver allows the eraser to remove a very thin layer of metal, revealing the fresh metal underneath.
Silver is a highly conductive and soft metal, which means it reacts differently than other metals when subjected to friction. The softness of silver allows the eraser to remove a very thin layer of metal, revealing the fresh metal underneath.
Oxidation Reaction
When silver is rubbed with an eraser, it undergoes a mild form of oxidation.
This friction between the eraser and the silver generates a small amount of heat, accelerating the oxidation process.
The black marks you see on the eraser are tiny particles of oxidized silver.
This reaction is unique to silver and a few other metals, making it a reliable indicator of silver's presence.
Non-Damaging to Silver
It goes without saying no one wants to damage their golden ornaments just to test it right? Well, that’s why the eraser silver purity test is so important. While other methods involve acids or scratching, this test is quite safe as it doesn’t damage the material at all.
This becomes quite important as In India we consider jewelry to be precious. In any case, now that we are done with this, let’s look at a few important considerations.
Things to Keep in mind
While the eraser test is a handy trick for a quick check of silver authenticity, there are several considerations to keep in mind to ensure accuracy and avoid damage:
While the eraser test is a handy trick for a quick check of silver authenticity, there are several considerations to keep in mind to ensure accuracy and avoid damage:
1. Surface Cleanliness:
Ensure that the silver item is thoroughly cleaned before performing the test. Residues or oils can alter the results by preventing proper contact between the eraser and the silver.
Ensure that the silver item is thoroughly cleaned before performing the test. Residues or oils can alter the results by preventing proper contact between the eraser and the silver.
2. Use the Right Eraser:
Always use a standard, soft eraser. Hard or colored erasers might cause unnecessary scratches or leave misleading marks.
Always use a standard, soft eraser. Hard or colored erasers might cause unnecessary scratches or leave misleading marks.
3. Test in an Inconspicuous Area:
To preserve the aesthetic of your silver item, perform the test in an area that is not easily visible. This helps in maintaining the item’s appearance in case the eraser leaves any subtle marks.
To preserve the aesthetic of your silver item, perform the test in an area that is not easily visible. This helps in maintaining the item’s appearance in case the eraser leaves any subtle marks.
4. Consider the Item's Finish:
Some silver items have protective coatings or patinas that can be damaged by rubbing. Be mindful of this, especially with antique items or jewelry.
Some silver items have protective coatings or patinas that can be damaged by rubbing. Be mindful of this, especially with antique items or jewelry.
5. It's Not Foolproof:
The eraser test is not 100% reliable. Some alloys or plated items might pass the test. For high-value items, always seek verification through more precise methods like acid tests or X-ray fluorescence (XRF) testing.
VISIT FOR :: wholesale necklace chain suppliers
The eraser test is not 100% reliable. Some alloys or plated items might pass the test. For high-value items, always seek verification through more precise methods like acid tests or X-ray fluorescence (XRF) testing.
VISIT FOR :: wholesale necklace chain suppliers
Conclusion
As we learnt in this blog, testing silver with an eraser is a quick, easy, and accessible method for anyone curious about the authenticity of their silver items.
Here, we went through everything you need to pass the eraser test, why to use it, how to use it, and things that you should keep in mind. And with this said, we have come to the end of the blog.
FAQs on Testing Silver With an Eraser
1. Can you really test the purity of silver using an eraser?
Yes, you can test the purity of silver using a standard eraser. This method utilizes the eraser's mild abrasive quality to induce a reaction on the surface of the silver, which can help indicate its authenticity based on the marks left.
Yes, you can test the purity of silver using a standard eraser. This method utilizes the eraser's mild abrasive quality to induce a reaction on the surface of the silver, which can help indicate its authenticity based on the marks left.
2. What should you observe during the eraser test on silver?
During the eraser test, you should observe the markings left on the eraser and the silver item. Genuine silver typically leaves a black mark on the eraser due to oxidation. The silver itself should show minimal markings.
During the eraser test, you should observe the markings left on the eraser and the silver item. Genuine silver typically leaves a black mark on the eraser due to oxidation. The silver itself should show minimal markings.
3. How accurate is the eraser test for testing silver?
The eraser test is not completely foolproof and should not be relied upon for definitive results. It's a quick and easy method but does not guarantee the purity or quality of silver. For more conclusive results, other testing methods like acid tests or XRF analysis are recommended.
The eraser test is not completely foolproof and should not be relied upon for definitive results. It's a quick and easy method but does not guarantee the purity or quality of silver. For more conclusive results, other testing methods like acid tests or XRF analysis are recommended.
4. Why is the eraser test considered safe for silver items?
The eraser test is safe because it is non-invasive and does not involve harsh chemicals or scratching that might damage the silver. It's especially suitable for quick checks on items like heirlooms or jewelry where you want to avoid any potential damage.
The eraser test is safe because it is non-invasive and does not involve harsh chemicals or scratching that might damage the silver. It's especially suitable for quick checks on items like heirlooms or jewelry where you want to avoid any potential damage.
5. What are the limitations of using an eraser to test silver?
Limitations include its inability to confirm the purity level of silver and the possibility of false positives from other metals that may also leave marks. It's advised to use this method for initial screenings rather than final verification.
Limitations include its inability to confirm the purity level of silver and the possibility of false positives from other metals that may also leave marks. It's advised to use this method for initial screenings rather than final verification.
6. What precautions should you take when performing the eraser test on silver?
Ensure the silver item is clean and use a standard, soft eraser. Test in an inconspicuous area to preserve the item's appearance, and consider the item's finish, as some coatings or patinas could be damaged.READ MORE:: My silver ring says 925 CN. What does this mean?
Recent Posts
Top 20 custom jewelry designers in queens ny
Top 20 Custom Jewelry Jewelers in Los Angeles
Top 20 wholesale jewellery manufacturers in uk
The Confusion Around Zodiac Dates and Cusp Jewelry
Zodiac Signs Symbols and Dates Explained Simply
Custom Jewelry for Mother's Day Design Ideas
Related products
14K Yellow Gold Pave Diamond Gemstone Multi Link Connector Band Ring Manufacturer
14K White Gold Minimal Pineapple Ring Custom Jewelry
925 Silver Natural Silver Plated Minimal Pineapple Ring Custom Jewelry
14K White Gold Minimal Butterfly Ring Manufacturer
925 Silver Natural Silver Plated Minimal Butterfly Ring Manufacturer
14K Yellow Gold Gemstone Minimal Cloud Opal Ring Jewelry Supplier
14K Yellow Gold Minimal Cow Head Gold Ring Custom Jewelry
925 Silver Yellow Gold Plated Minimal Cow Head Gold Ring Custom Jewelry
14K Yellow Gold Pave Diamond Cubic Zircon Gemstone Two Tone Multi Band Connector Ring USA
14K Yellow Gold Moissanite Celestial Moon & Star Ring Jewelry Supplier
14K Yellow Gold Cubic Zircon Diamond Pave Star Ring Manufacturer
14K Rose Gold Diamond Cubic Zircon Heart Adjustable Ring Custom Jewelry
Contact Us For Custom Jewelry
Please get in touch with us and share your ideas if you have personalized jewelry or are searching for a private label jewelry manufacturer. In accordance with your suggestions, we will make and present genuine jewelry.
Drop Us a Line
Scan QR Code
for immediate contact


